Compiling the web application
Installing Eclipse
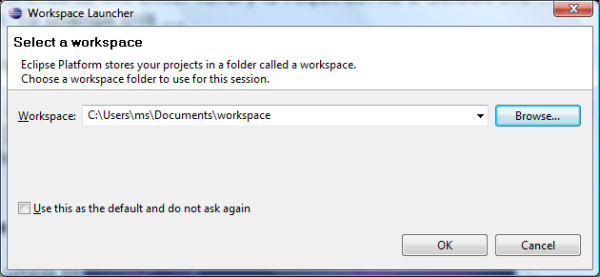
Download and unzip the Eclipse IDE for Java EE developers from the Eclipse download site. Start Eclipse and create or open a workspace.
Installing Subversion
Go to Help/Software Updates… Select the “Available Software” tab, click the “Add site” button, and enter http://subclipse.tigris.org/update_1.6.x in the upcoming field. Select the required Subclipse features and press the “Install” button. Accept the license and restart Eclipse after the installation finished.

Install Tomcat
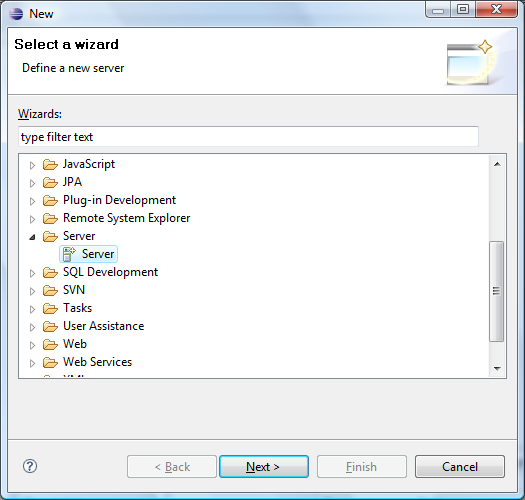
Download the zip-package (not the installer) of Apache Tomcat version 6 from the Tomcat download site and unzip the package into a directory. Go to File/New/Other in your Eclipse IDE and select the “Server” wizard.
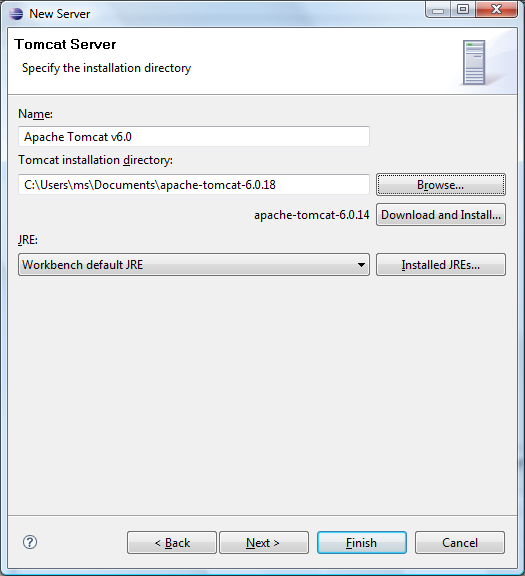
Choose Apache Tomcat v6.0 as server type, the directory where you unzipped Tomcat as installation directory, and click “Finish”.
Checkout the Connector project
Go to File/Import and select “Checkout Projects from SVN”.
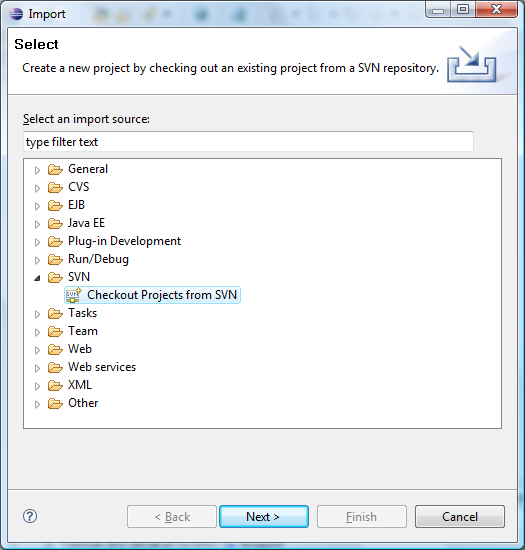
Check the option “Create new repository location” and click “Next”, enter https://sp-connector.svn.sourceforge.net/svnroot/sp-connector as repository URL, select the “connector.web” package and click “Finish”.

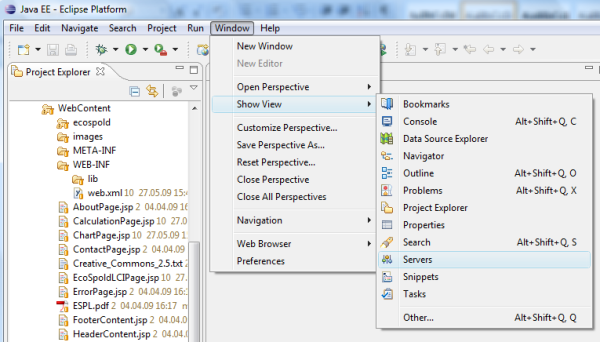
Get com4j and start
Download the latest release of the com4j library from https://com4j.dev.java.net. Unzip the download package and copy the files com4j.jar and com4j.dll into the folder [your Tomcat directory]/lib. Then, open the Eclipse server view with Window/Show View/Servers.
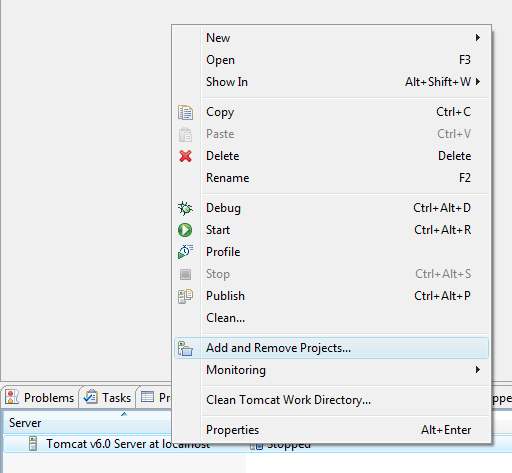
Right click on the Tomcat server and select “Add and Remove Projects” from the context menu.

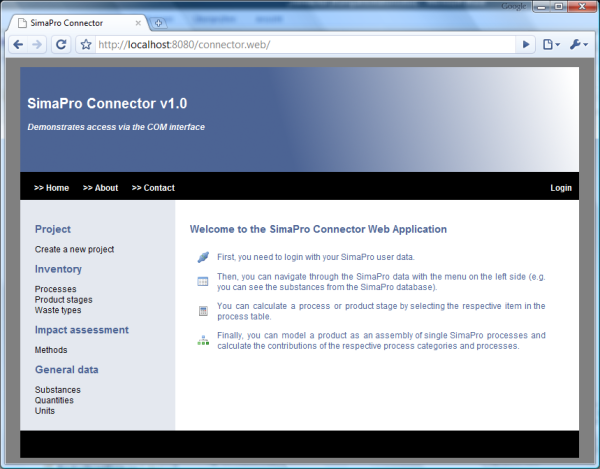
Open a web browser and enter http://localhost:8080/connector.web/ as URL. The result should look like in the following picture.